

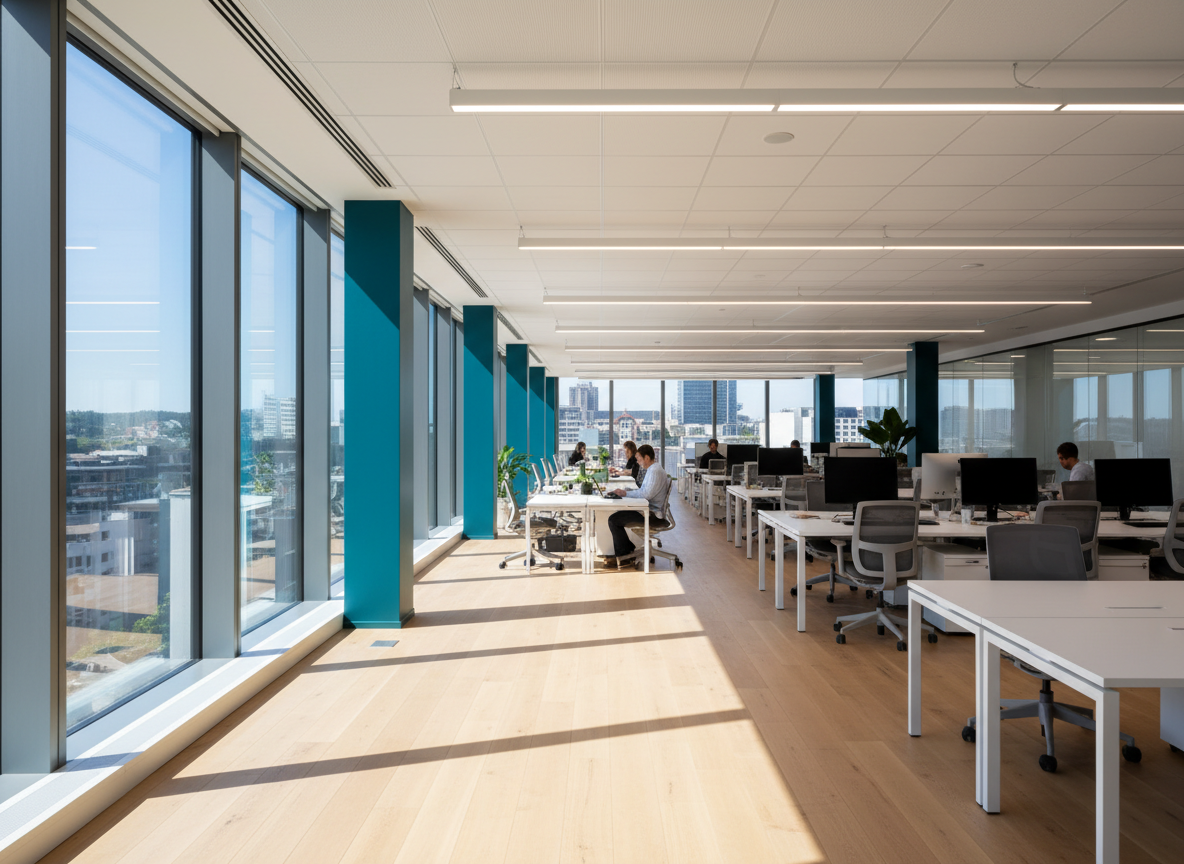

Walk into a modern office building on a bright morning and the lights near the windows may already be dimmed down — or off entirely. That is daylight harvesting at work. It is one of the most effective energy-saving strategies in commercial lighting controls, and one of the most frequently done wrong. Understanding how the technology actually functions is the difference between a system that quietly saves 20 percent on your lighting energy bill and one that drives occupants crazy with lights that flicker or never do what they're supposed to.
What Daylight Harvesting Actually Is
Daylight harvesting is a continuous dimming response. A photosensor measures available light, the lighting control system compares that measurement to a setpoint, and the fixtures serving that zone dim up or down to maintain a consistent target light level. The keyword is continuous — this is not an on/off switch based on whether the sun is out. It is a closed-loop or open-loop control strategy that modulates output across the full dimming range in real time.
The goal is simple: when nature is already delivering useful light to a space, reduce the contribution from electric fixtures by an equivalent amount. The occupants get the same maintained illuminance. The utility meter slows down. Done correctly, neither the building manager nor the people inside ever think about it.
Daylight harvesting is distinct from occupancy-based shutoff. Occupancy controls respond to whether a person is present. Daylight harvesting responds to how much light is present. The two strategies are often deployed together — and both are required in certain zones under ASHRAE 90.1 and California Title 24 — but they address different variables.
Open-Loop vs. Closed-Loop Photosensors
The first major technical decision in any daylight harvesting design is which type of photosensor to use. The two options — open-loop and closed-loop — differ fundamentally in what they measure and how they use that measurement.
| Open-Loop | Closed-Loop |
|---|---|
| Measures incoming daylight (typically sky or window-facing) and predicts what the interior light level will be | Measures the actual light level at the workplane or ceiling and reacts to what is already in the space — electric light plus daylight combined |
| Pros: Stable, proactive response; not influenced by the electric light it's controlling; no feedback loop instability | Pros: Directly maintains target illuminance; accounts for real-world variables like reflectance and furniture |
| Cons: Requires careful calibration; less precise for variable interior layouts | Cons: Susceptible to feedback loop hunting if gain is set too aggressively; sensor placement is critical |
| Best for: Skylights, clerestory windows, consistent toplit zones | Best for: Sidelighting zones where interior reflectance varies; spaces requiring tight illuminance maintenance |
Photosensor Placement: The Most Common Mistake
A photosensor facing a window is measuring the wrong thing.
A sensor aimed at the window is seeing direct solar luminance or the brightness of the sky — neither of which tells the control system anything useful about the illuminance at the workplane. The sensor needs to measure light as occupants experience it, not light as it enters the building.
Correct placement for a sidelighting zone: the sensor should face downward or at an angle toward the workplane, positioned to sample the light at the task surface without having a direct line of sight to the luminaires it controls. This is especially important for closed-loop sensors — if the sensor can see the fixture directly, every time the fixture dims down the sensor reads less light and tries to bring it back up, creating an oscillating loop.
Understanding Daylight Zones
Daylight harvesting does not apply to an entire floor plan equally. Energy codes and good engineering practice divide spaces into daylight zones — specific areas near windows or under skylights where useful daylight is actually available.
ASHRAE 90.1 defines two primary sidelighting zone classifications: primary and secondary sidelighting zones. The primary daylight zone extends inward from the window wall at a depth equal to one window head height, and laterally to the edge of the window plus one head height on each side. The secondary zone extends an additional head height inward from the primary zone boundary.
Toplit zones are defined differently — they extend outward from the skylight footprint by 0.7 times the ceiling height on each side.
Calibration: The Step Nobody Wants to Do
A photosensor that ships from the factory is not calibrated for your building. The physical space — ceiling height, surface reflectances, window tint, furniture — all influence the relationship between what the sensor reads and what the occupants experience. Calibration is the process of establishing that relationship correctly.
Poorly calibrated systems often end up in one of two failure modes: lights that hunt constantly because the gain is too high, or lights that never fully dim because the setpoint was set too conservatively. Neither outcome is acceptable, and both are entirely preventable with proper commissioning.
Why Daylight Harvesting Fails in Practice
The reasons daylight harvesting underperforms or fails outright are remarkably consistent across projects:
- Wrong sensor type for the application. An open-loop sensor deployed in a highly variable sidelighting zone will produce erratic control. A closed-loop sensor mounted so it can see the fixture it controls will hunt indefinitely.
- No calibration after installation. Sensors are installed, the system is accepted, and calibration never happens. The factory defaults are not appropriate for any specific space.
- Incorrect zone definition. Luminaires outside the actual daylight zone are assigned to the photosensor, and luminaires inside the zone are excluded from control.
- No commissioning documentation. Even when calibration is performed, settings are not documented. When the system is reprogrammed or reset, all calibration is lost.
- Occupant override defeats the strategy. If occupants can override daylight harvesting permanently rather than temporarily, the system reverts to manual control.
Energy Savings Potential
When daylight harvesting is correctly designed, installed, calibrated, and commissioned, the energy savings are real and measurable. In well-daylit commercial spaces — perimeter offices, classrooms with south or north exposure, spaces under skylights — lighting energy reductions of 15 to 30 percent are consistently documented in post-occupancy studies.
Where Daylight Harvesting Is Mandatory
ASHRAE 90.1-2019 and later editions require daylight-responsive controls in daylight zones when the combined installed lighting power in that zone exceeds a threshold. The controls must be capable of reducing electric lighting power by at least 50 percent in response to available daylight.
Title 24 in California has some of the most prescriptive daylight harvesting requirements in the country. It defines specific daylight zones with hard square footage thresholds, requires multi-level or continuous dimming controls in those zones, and mandates specific acceptance test procedures to verify the controls are functioning correctly after installation. Commissioning is not optional — it is a permit condition.
Daylight Harvesting Only Works When It's Done Right
Sensor placement, calibration, zone design, and commissioning are all required for daylight harvesting to actually deliver energy savings. Wilco Services handles all of it.
Contact Wilco Services